GLUTEN-FREE | DAIRY-FREE | VEGAN
Makes a bowl of them
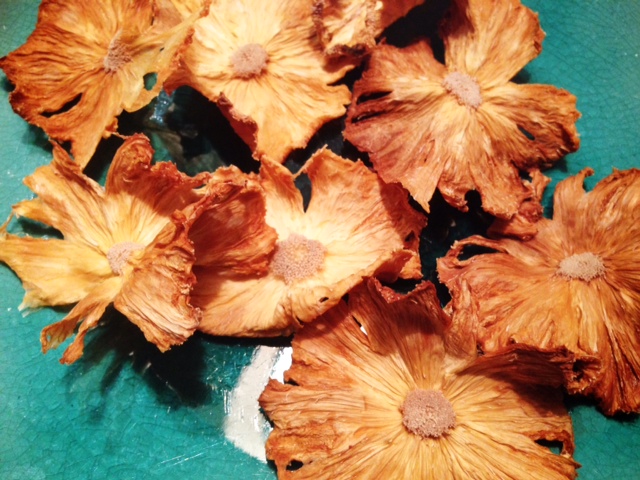
Making your own dried fruit is just the best feeling in the world and here’s why – it’s cheaper than buying them from the shops and you can dry them out exactly as much or as little as you want to. Here’s our dried pineapple recipe to get you started.

It’s a bit weird that we’re even putting this together as a blog post, especially as this only contains one ingredients. Ah well, here goes…
Ingredients
- 1 pineapple
Method
- Preheat the oven to 60’C
- Cut away all the spiky skin on the pineapple so you have just the yellow section.
- If you have a mandolin, use it to slice the pineapple as finely as possible. You may have to cut it vertically down the middle to fit it onto the mandolin. If you don’t have a mandolin, don’t worry, neither do we. Just slice it as finely as you can – ours ranged between 1mm – 4mm. A sharp knife works best but be careful. Bloodied pineapple slices aren’t quite so appetising.
- Lay them out on a wire cooling rack. If you don’t have a cooling rack, a baking tray will do. If using a baking tray, prop some of them up against the edges.
- Put into the oven.
- Check and turn every hour. To start they will go a bit warm and squishy but they’ll eventually dry out. Be patient.
- Bake for 4-6 hours depending on how dried and crispy you like them. If you need to, set an alarm as it’s easy to forget about them – until you smell them!
- Let them cool before tucking in.
These will last for about 5-7 days if you keep them in an airtight container. We also tried sprinkling salt on some of them (not good – they taste great normally and this is common in hot countries but not so good for dried pineapple) and some who have tried this recipe have reported success with a tiny dash of dried chilli or lime drizzled on before baking.
We’ve used an oven for this dried pineapple recipe as most people don’t own a dehydrator.

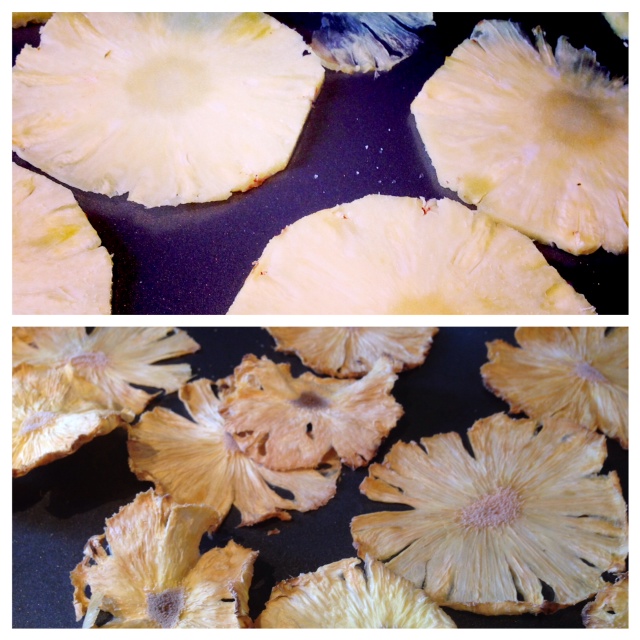
Top photo: The freshly sliced pineapple going into the oven. Bottom photo: Part way through the dehydration process.
Leave a Reply